How To Create Shiny Finish Woodcarvings
Generally I avoid shiny finishes. A shiny finish can magnify any areas that were not crisp or cleaned-up properly. A shiny finish can also be distracting – even when done well. Keep in mind that a well done carving can be ruined if it has a poor quality finish. Likewise, a really good finish can improve the looks of a less than perfect carving.
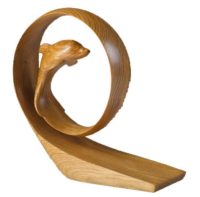
There are, however, carvings that benefit from a shiny finish. Stylized carvings fall within this category as do “smoothies”. The name “Smoothie” is often used by wildfowl carvers and covers fowl that are not defined with feather groups, etc.
Examples of Shiny Finish Woodcarvings


How To Create Shiny Finish Woodcarvings
- In the case of stylized or smoothie carving run through the sanding process using various grits. Finish with a minimum 400 grit and preferably 600 grit or higher.
- Consider using sanding sticks or even inflatable or contour sanders.
- Wash and scrub the piece with tap water and spray on an all purpose cleaner (Simply Green is a good one.) Scrub it with a small soft nylon brush. Rinse thoroughly.
- When dry, scrub again with a dry brush to remove any small raised wood fibers the water has raised.
- Use a crumpled brown paper bag (one with no printing on it) to scrub once again.
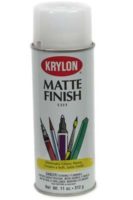
- Spray the piece with Krylon Matte Finish. Let dry thoroughly.
- Once again use a paper bag and crumpled bag to remove any raised fibers.
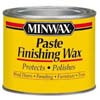
- Apply a coast of clear or natural paste wax. I like Minwax Finishing Paste. Apply the wax with a soft nylon brush (toothbrush works good) in a circular motion.
- After the wax has dried (takes about 30 minutes) buff the piece with a soft rag or towel.
- Apply a second coat of wax for added protection.
1
